This post contains affiliate links.
In today’s fast-paced world, networking and making a memorable impression are crucial. Whether you’re hosting an event, attending a conference, or simply want to enhance your professional image, having a personalized name badge can make a world of difference. With the power of Photoshop, crafting a striking name badge is easier than you might think. In this step-by-step guide, we’ll walk you through the process, answer common questions, and help you create a simple yet effective name badge that will leave a lasting impression.
1. What do I need to get started?
To create a name badge using Photoshop, you’ll need the following:
- Adobe Photoshop (you can subscribe to Adobe Creative Cloud or use a free alternative like GIMP).
- A high-resolution image of your logo (if applicable).
- A clear, high-quality photo of yourself.
- Your name and any additional information you want to include on the badge.
- A computer or laptop.
2. How do I open Photoshop and start a new project?
- Open Photoshop.
- Click on “File” and select “New” to create a new project.
- Set the dimensions for your name badge (e.g., 3 inches by 4 inches) and choose a resolution of 300 pixels/inch for high-quality printing.
3. How can I add a background to my name badge?
- Select the “Paint Bucket” tool from the toolbar.
- Choose your desired background color.
- Click anywhere on the canvas to fill it with the selected color.
4. How do I add my photo to the name badge?
- Open your photo in Photoshop.
- Use the “Select” tool to outline your photo.
- Right-click and select “Copy.”
- Return to your name badge project.
- Right-click and select “Paste.”
- Resize and position your photo as desired.
5. What’s the best font for my name badge?
Choose a clean and legible font that matches your professional style. Popular choices include Arial, Helvetica, and Calibri. Experiment with font size and color until it looks just right.
6. How can I add text to the badge?
- Select the “Text” tool from the toolbar.
- Click anywhere on the canvas and type your name and additional information.
- Adjust font, size, and color using the options in the top toolbar.
7. Can I include my company logo?
Absolutely! To add your logo:
- Open your logo image in Photoshop.
- Select the logo, copy it, and paste it onto your name badge canvas.
- Resize and position the logo appropriately.
8. How do I save my name badge for printing?
- Click on “File” and select “Save As.”
- Choose a file format like JPEG or PNG for printing.
- Select a high resolution (300 dpi) and save the file to your computer.
9. What’s the ideal printing method for name badges?
For professional results, consider printing your name badges on high-quality cardstock or glossy paper. You can use a home printer or take your file to a local print shop for better results.
10. How can I make multiple name badges at once?
If you’re making name badges for an event or a team, you can create multiple badges by duplicating layers in your Photoshop file and customizing each one with different names and photos. This way, you can efficiently produce a batch of badges while maintaining a consistent design.
With these steps and tips, you’re well on your way to creating personalized name badges that stand out and leave a lasting impression. Whether it’s for a business conference, a trade show, or a networking event, your well-crafted name badge will help you make the connections you need to succeed. So, fire up Photoshop, let your creativity flow, and watch your professional image soar!
Finishing touches
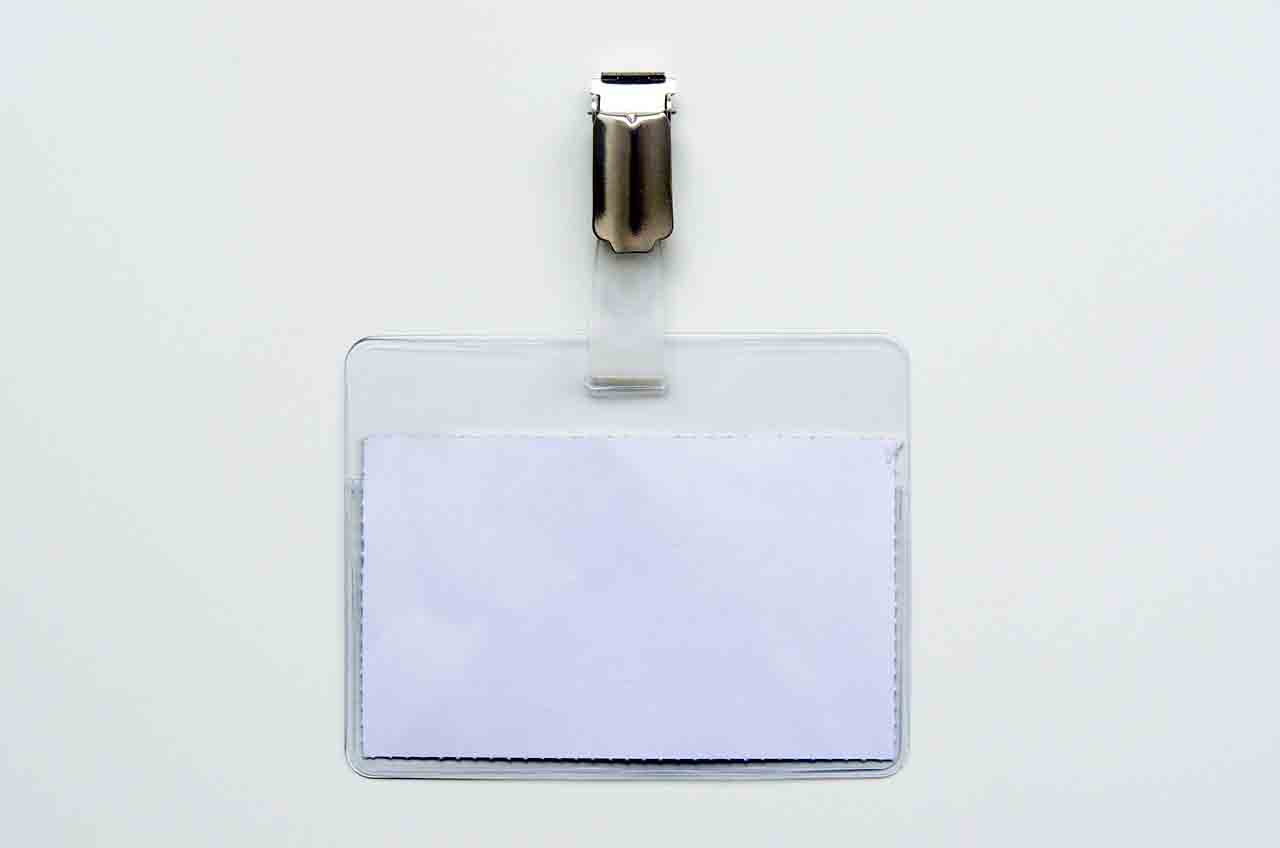
To finish it off get some cheap but high quality protectors with a clip like these I found on Amazon and your are off to the races! You can make your own press passes if you are a blogger like me, your large or small company badges, or just something for an informal meetup. A few skills and photoshop can save you thousands of dollars highering jobs done by a professional.


