This post contains affiliate links.
Why Optimize Your Images
Optimizing images for a website is always important because you will be penalized, both by your users and by Google for a slow load speed. You can speed test your website now if you want at a website like gtmetrix.com, Pingdom.com or the Google version, Page Insights. Depending on your niche, you may never get a great score. For example, our food blog healthythairecipes.com, is very add and media heavy. When you have a lot of adds, they often are such big files, you simply can’t afford the kind of bandwidth it would take to get the load speed up. Even big dog, media companies like CNN have issues with this.
Some Tools For Optimization
One of the ways I have been optimizing images lately. You can simply save in photoshop and use the slider to tell it how much to reduce the quality, but that is a paid option. Always save as jpg for website load speed.
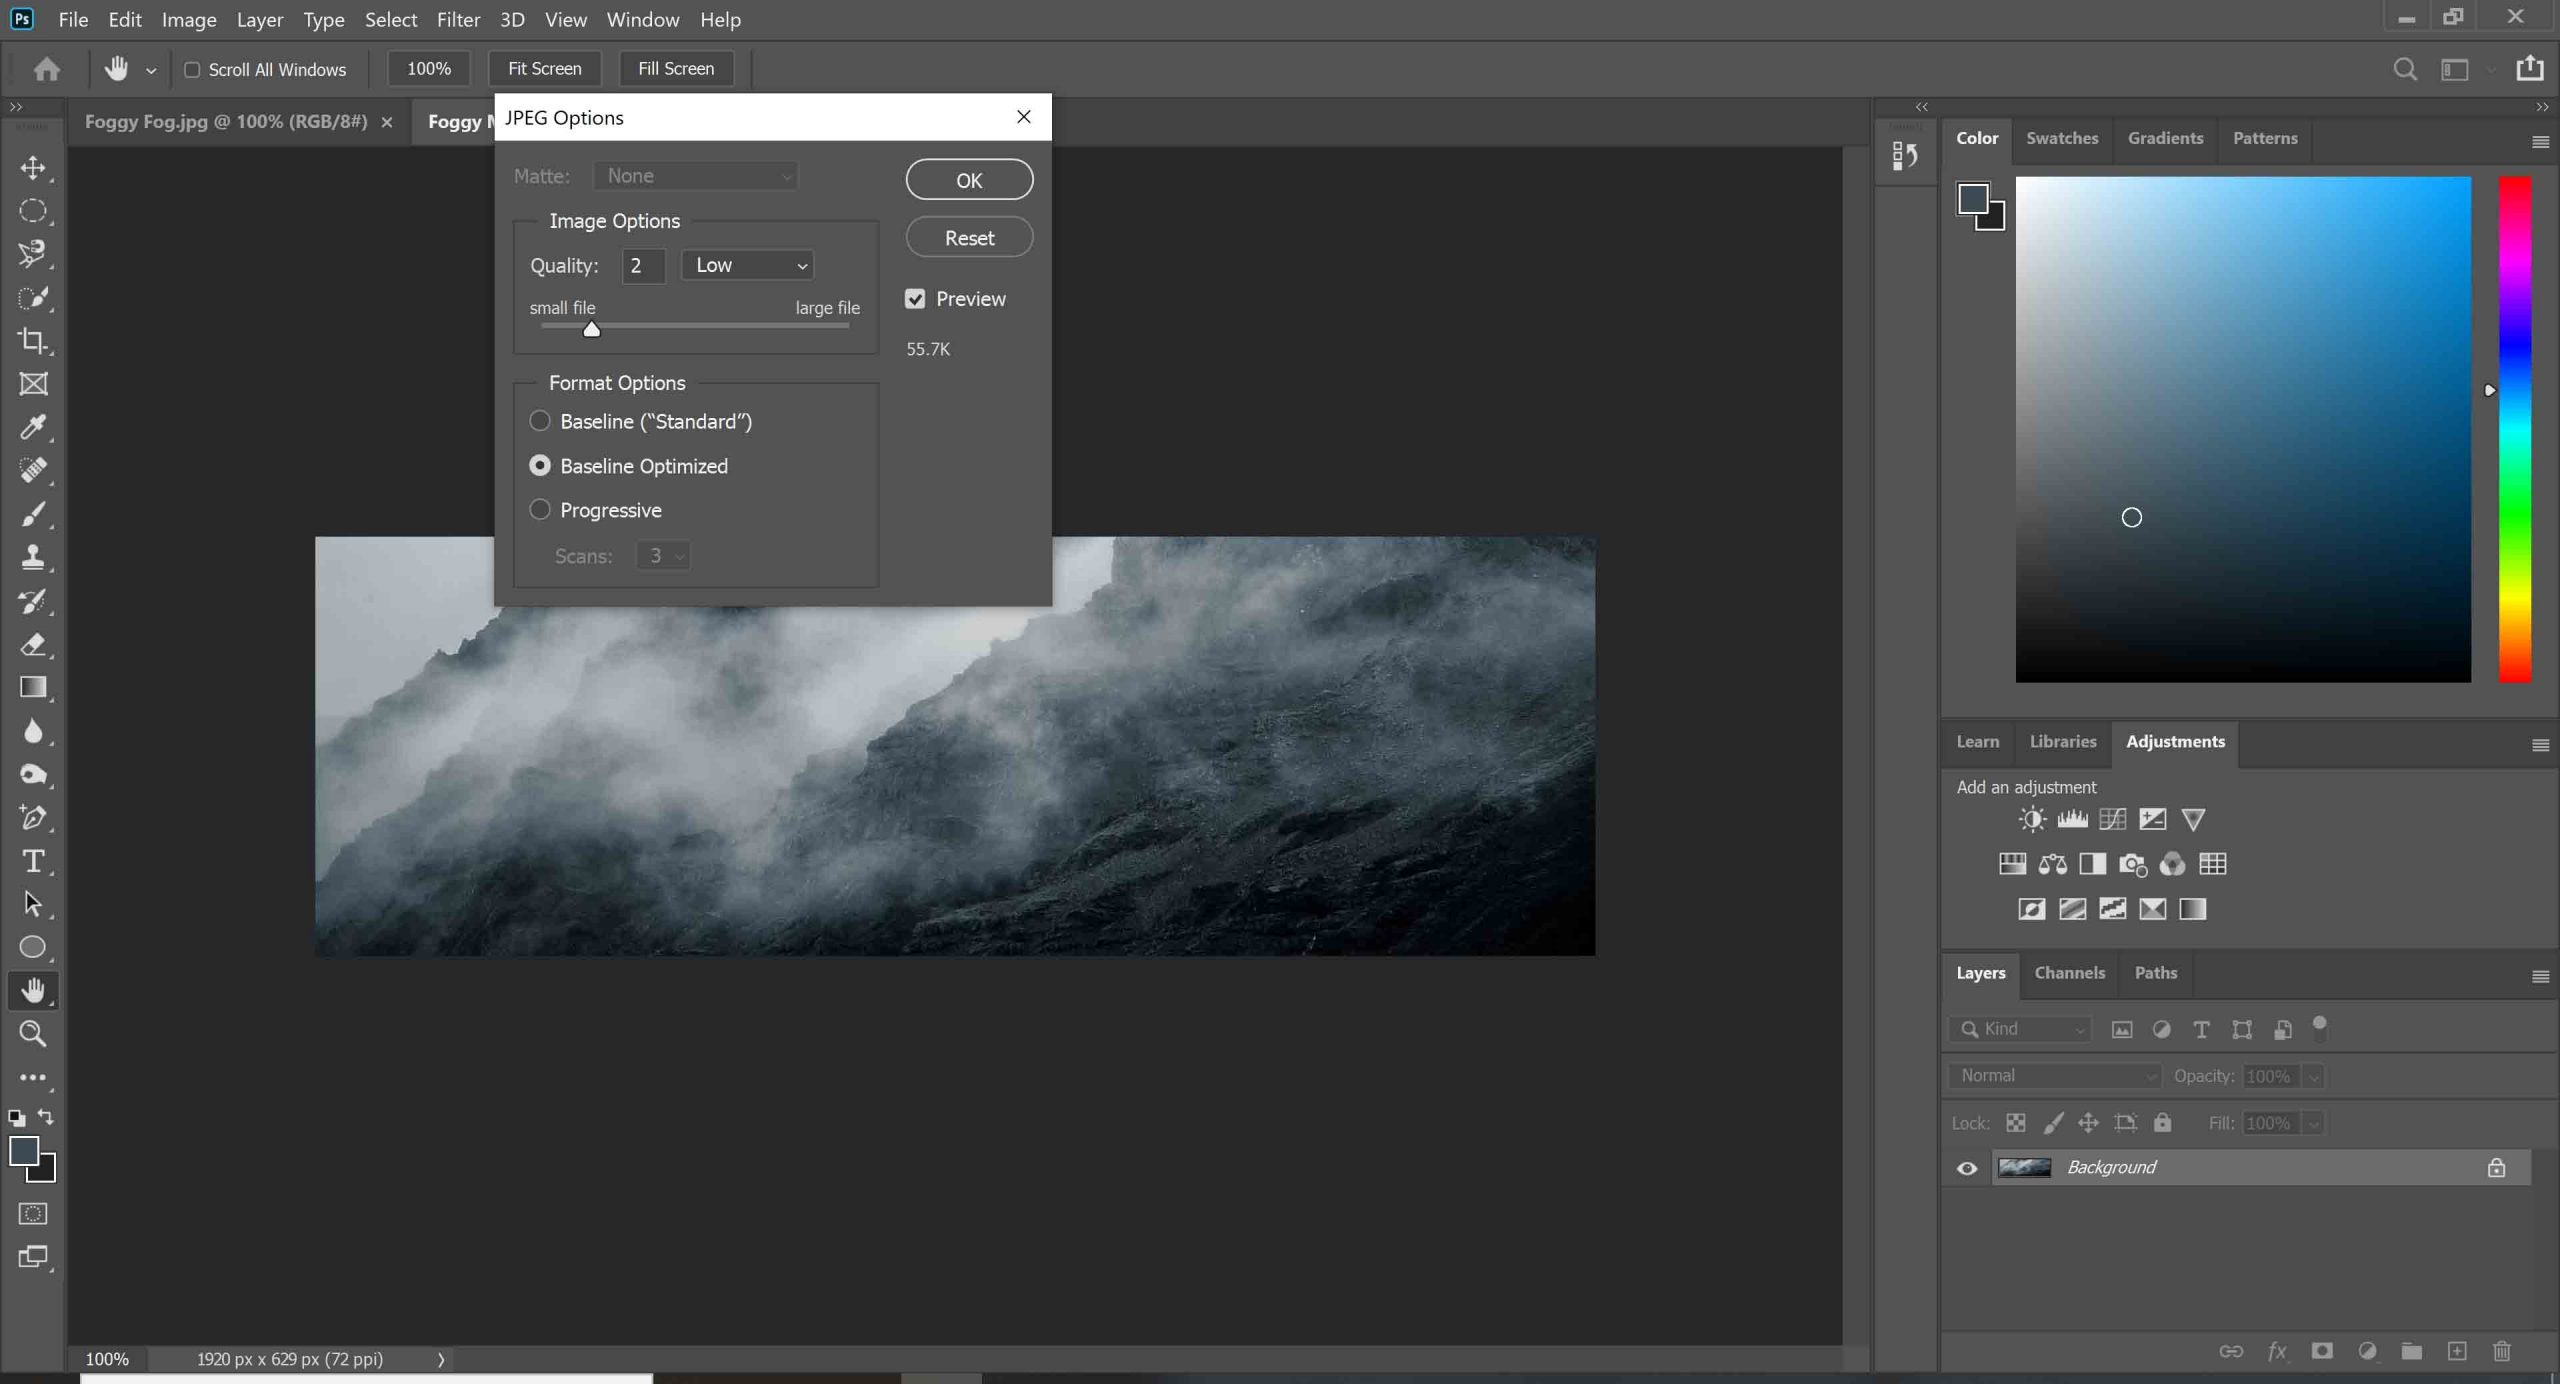
Screenshot of photoshop optimization
The Free Option
My wife prefers the free option, even though we pay the monthly subscription for photoshop. We use optimizilla.com Also known as ImageCompressor.com. Here is how to use it.
First, of course, pull up the website on your browser.
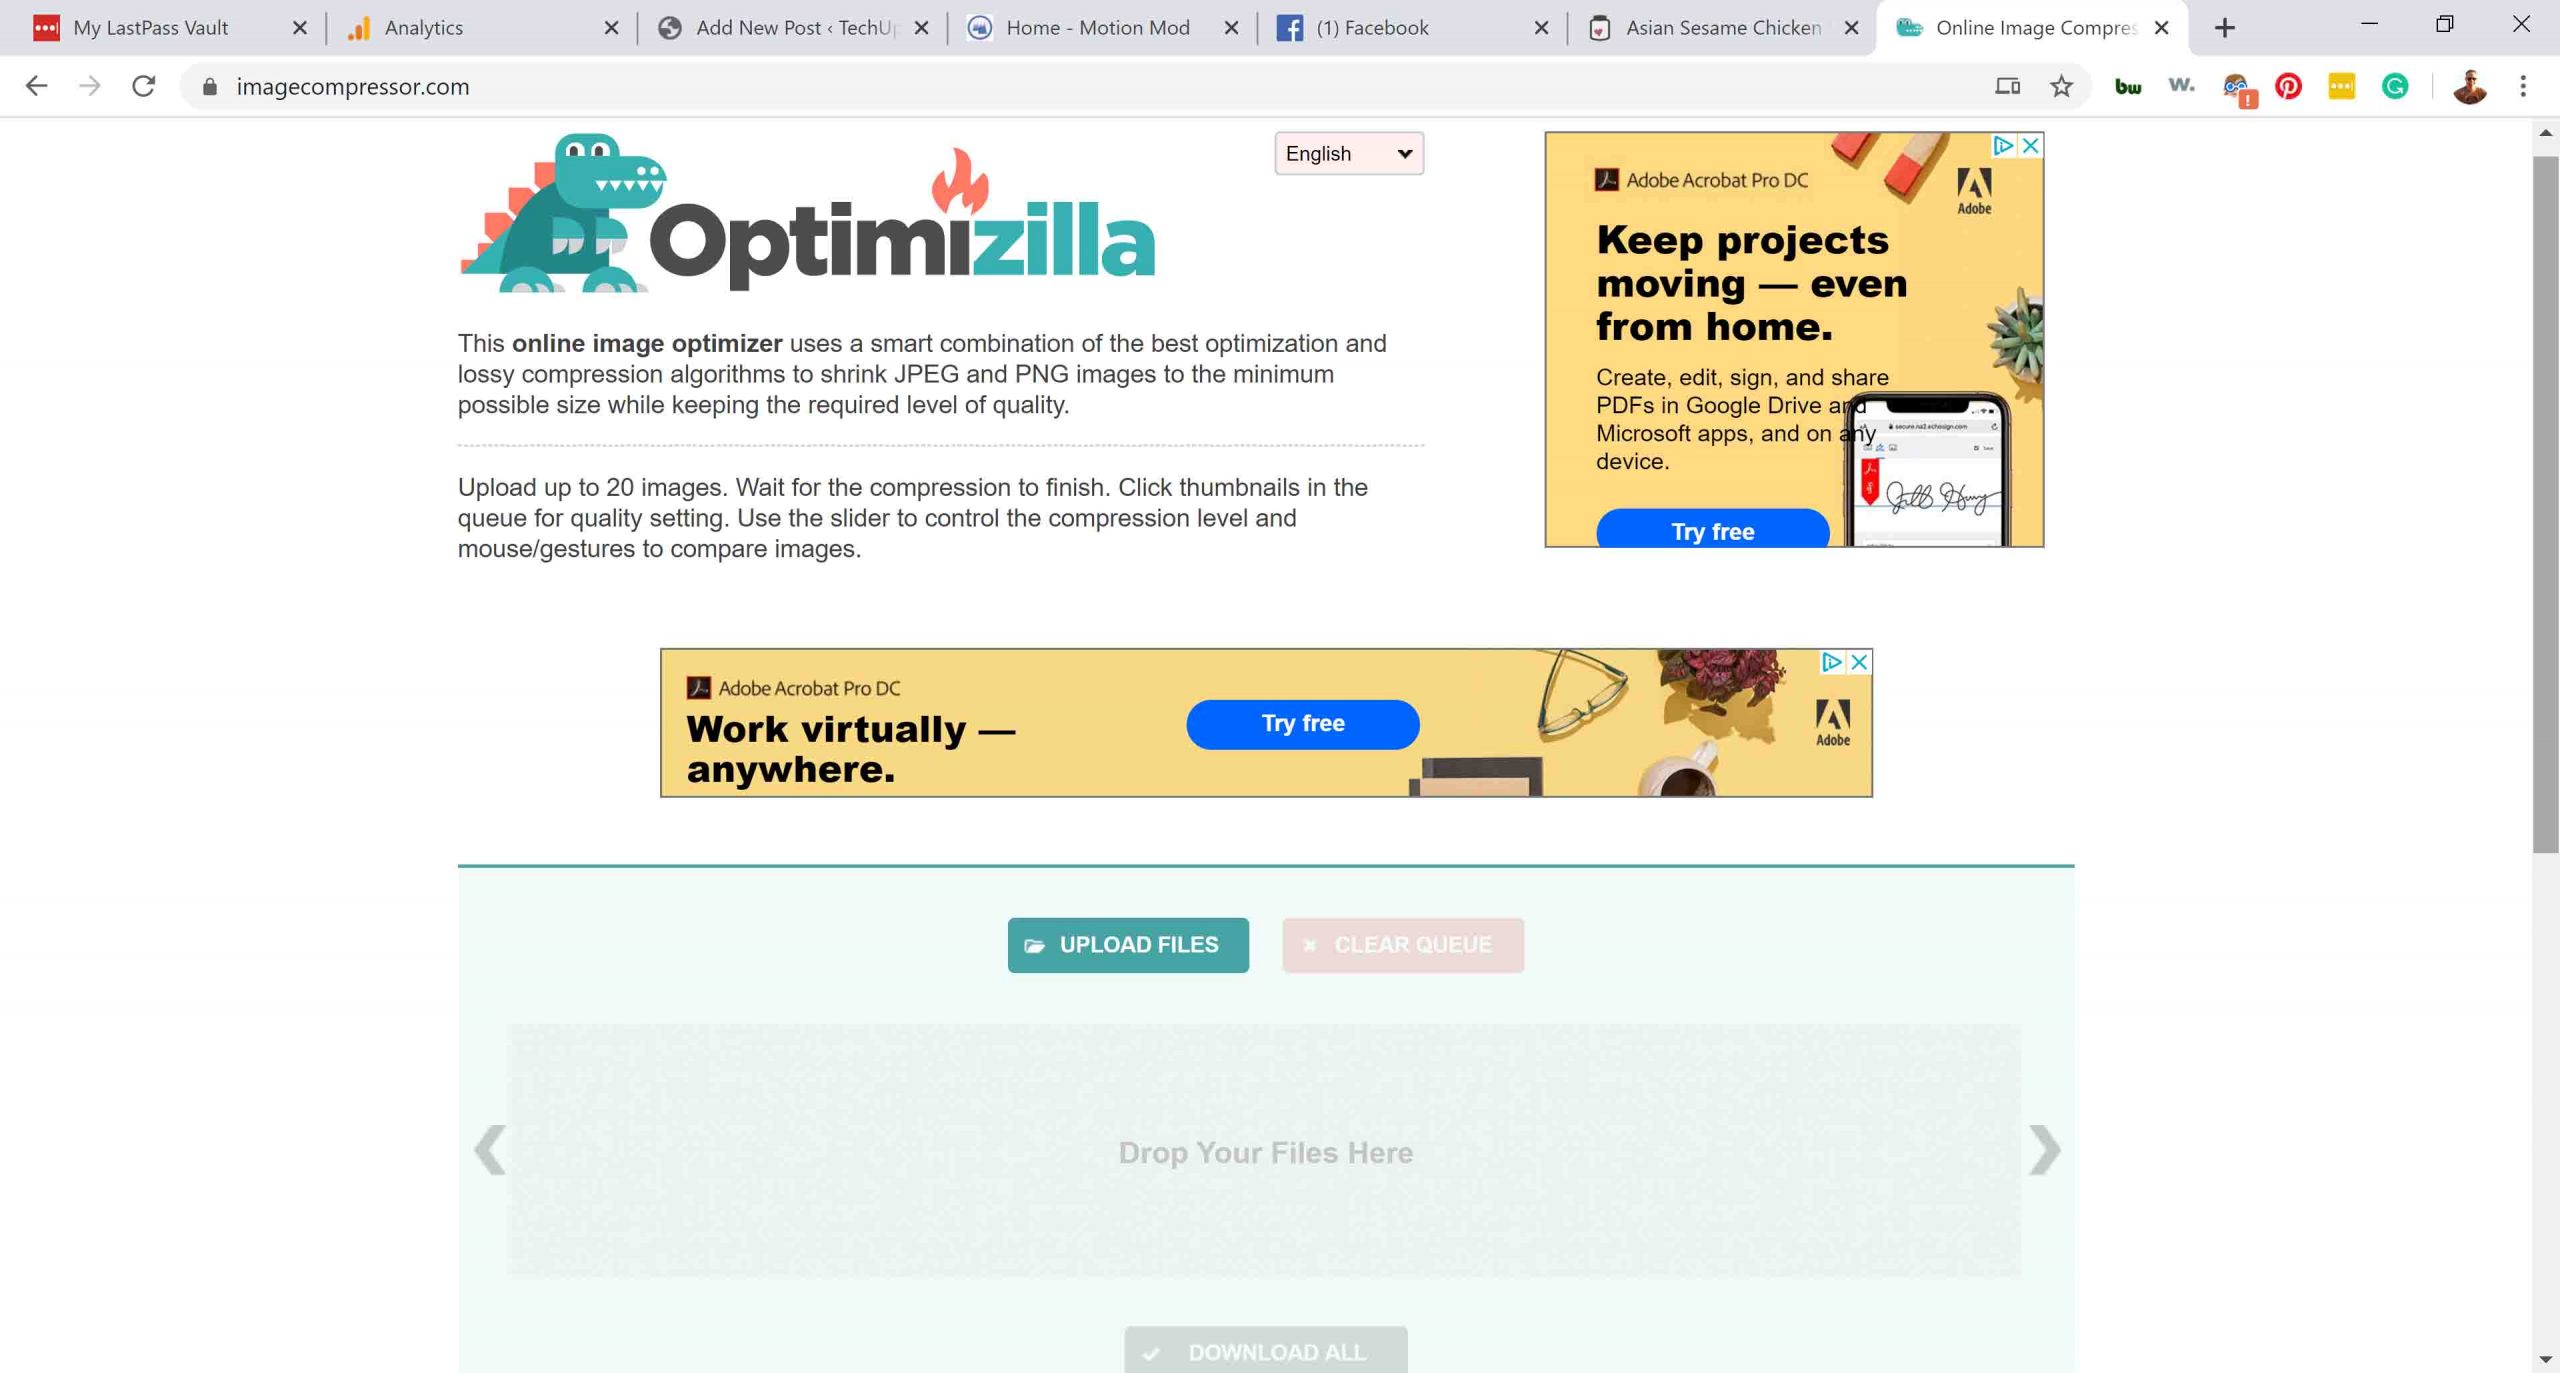
Optimizilla.com
Next, its as simple as uploading the file and selecting how much you want to optimize it as seen in the image below.
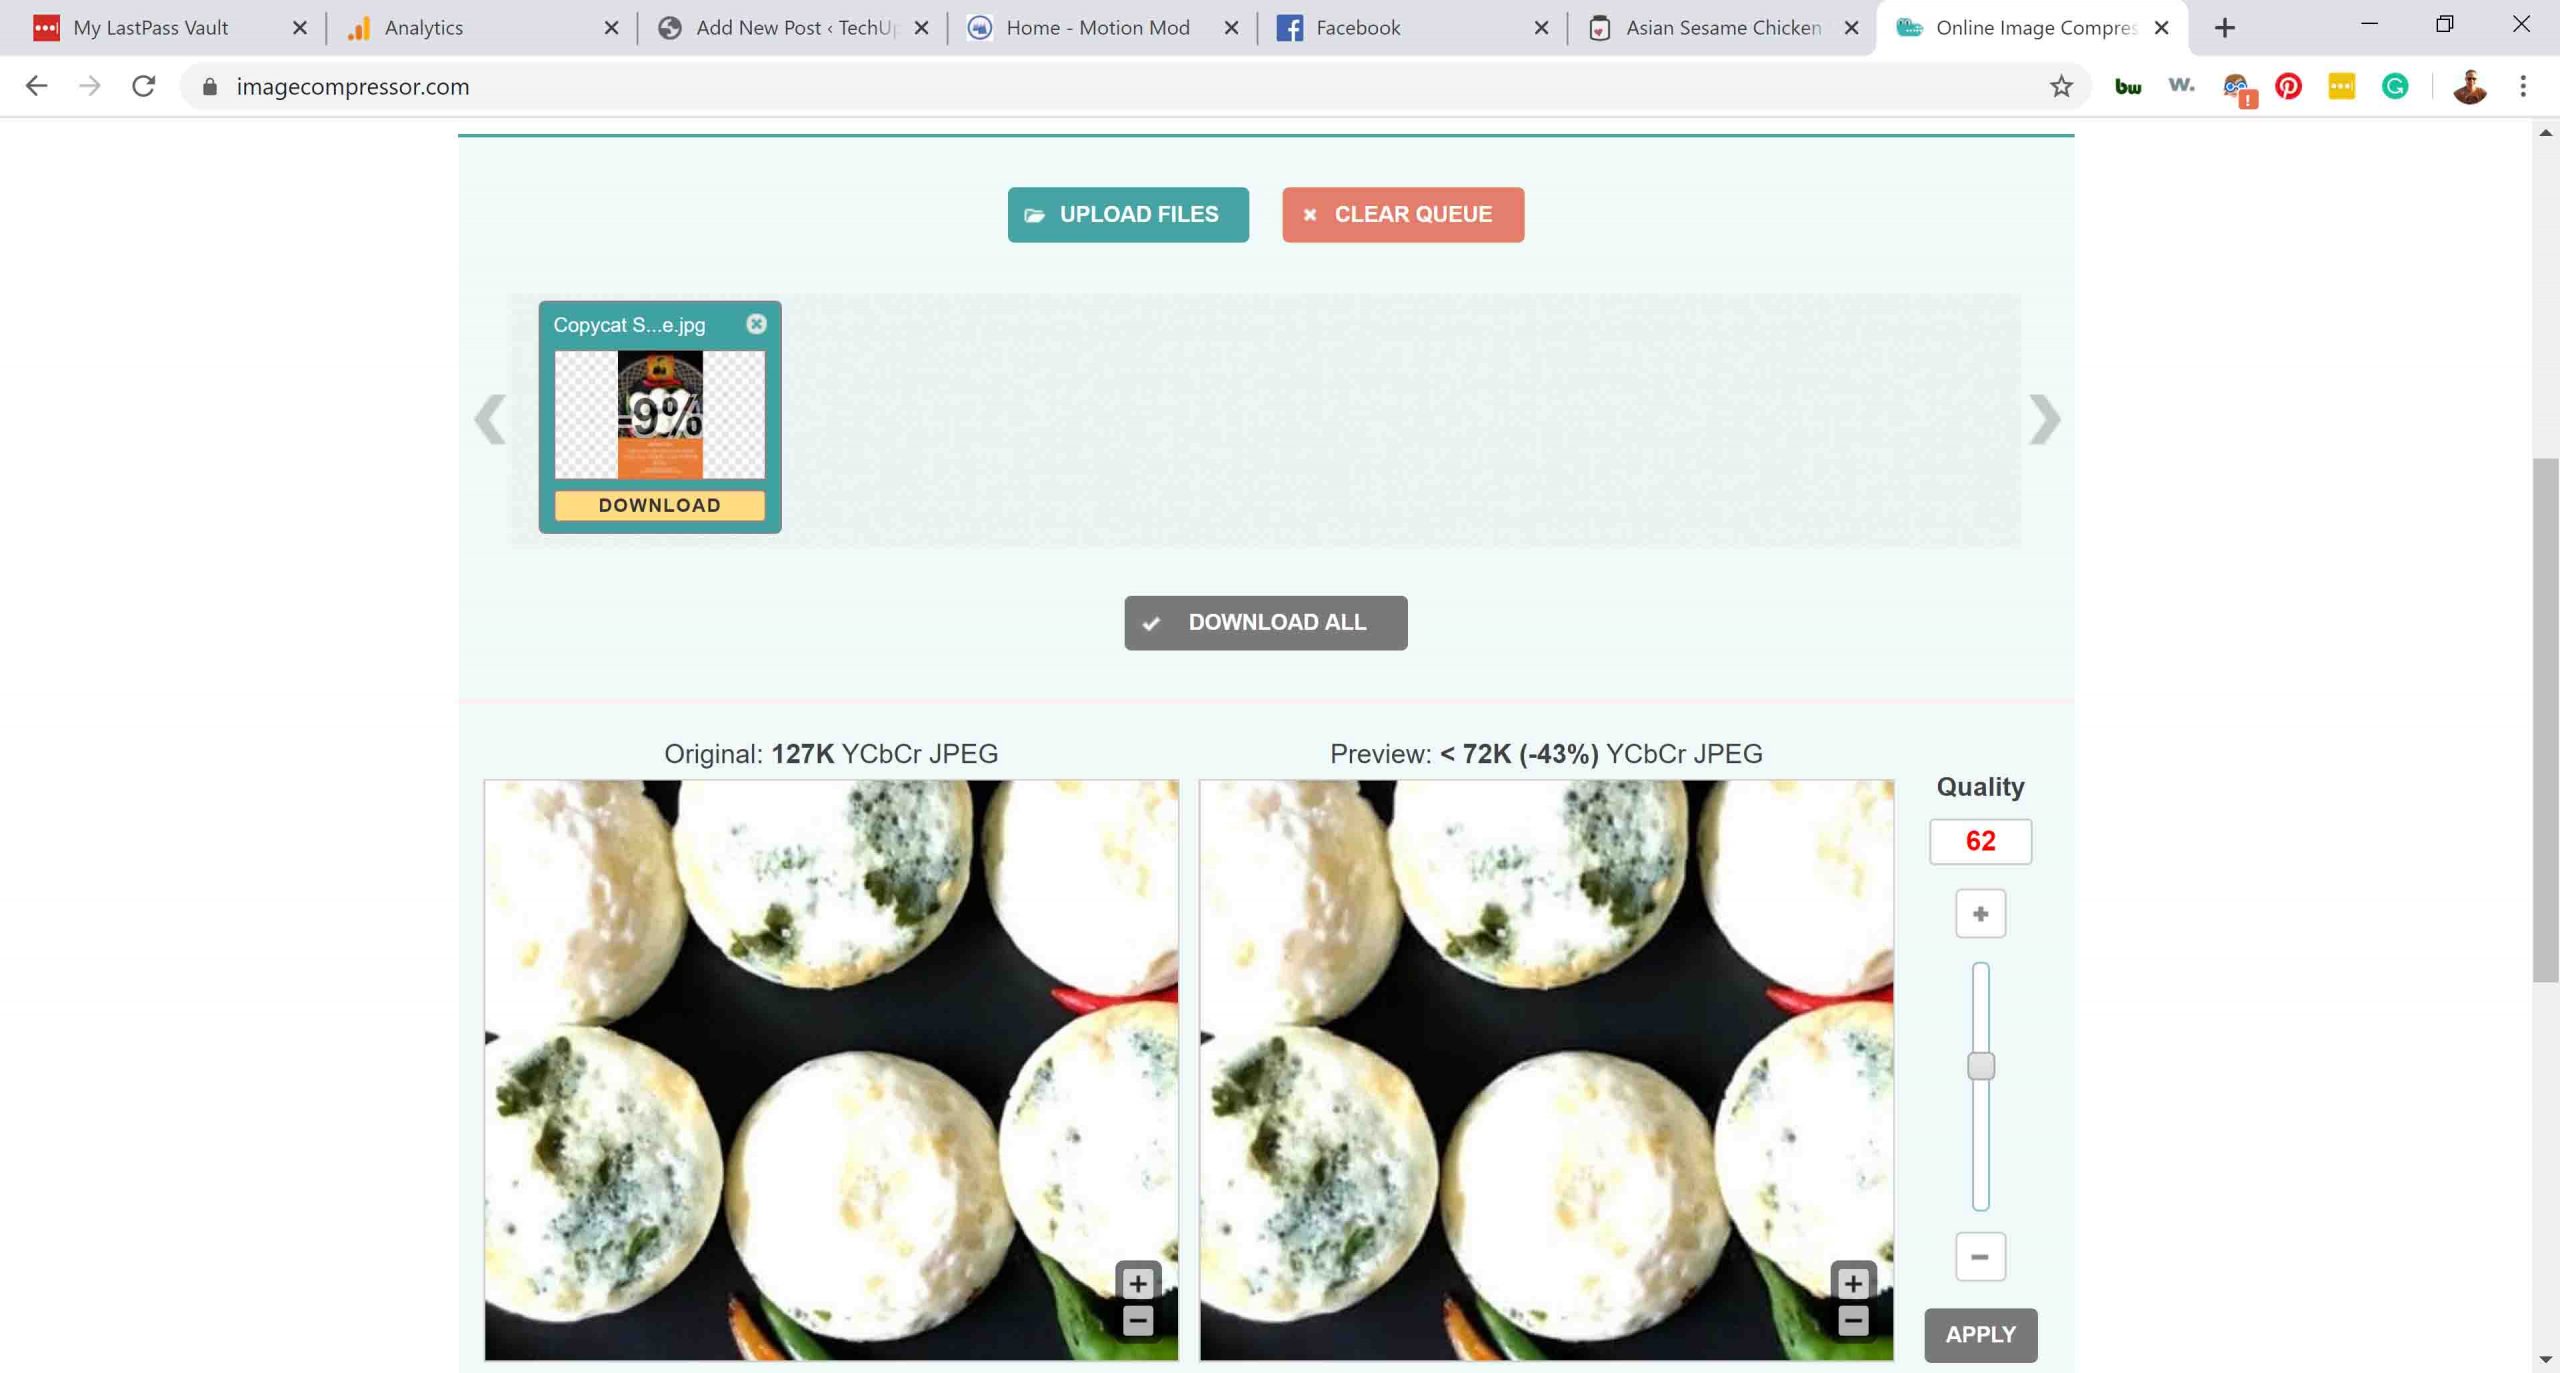
Using Optimizilla To Optimize Images
Once it’s loaded, look at the size of the file. Try for 100 K or less, is my strategy, use the slider to adjust, hit apply and download. Select Jpg fo the fastest speed. Boom, you are all set. Just don’t forget to name it what you want it to be found as if people find it via google image search. Don’t forget your alternative text label too for screen readers.
